If you’ve found your way here, you’re probably already excited about the potential of the RAGFlow project and eager to see it in action. I was in the same position, so I delved into the codebase to see how it could work with custom large language models (LLMs). This post will walk you through my findings and show you how to get RAGFlow running with your own LLM.
As of now (November 8, 2024), RAGFlow offers limited support for local LLMs, and vLLM isn’t yet compatible. In our case, we needed to test it on a company project with strict data security requirements, where prompts must not reach any third-party LLM endpoints. This need for security is the driving force behind this guide, so let’s dive in and explore the steps to make RAGFlow work securely with your custom LLM setup.
1. Follow the official guide to launch ragflow from source code
The link for the official guide can be found at https://ragflow.io/docs/dev/launch_ragflow_from_source
2. Add a logo for your own LLM in frontend
- add your logo svg to web/src/assets/svg/llm(for example: web/src/assets/svg/llm/myownllm.svg)
- link the svg to the LLM factory by adding an entry in web/src/constants/setting.ts.
// web/src/constants/setting.ts
export const IconMap = {
  MyOwnLLM: 'myownllm', // [MyOwnLLM] logo filename
  'Tongyi-Qianwen': 'tongyi',
  //...
}
3. Add your LLM into LocalLLMFactories for frontend
- add an entry to register in
LocalLlmFactoriesin web/src/pages/user-setting/constants.tsx
//`web/src/pages/user-setting/constants.tsx`
export const LocalLlmFactories = [
  'MyOwnLLM', //[MyOwnLLM]
  'Ollama',
  'Xinference',
  'LocalAI',
]
- add an entry to
optionsMapin web/src/pages/user-setting/setting-model/ollama-modal/index.tsx
// web/src/pages/user-setting/setting-model/ollama-modal/index.tsx
const optionsMap = {
    MyOwnLLM: [
      // [MyOwnLLM]
      { value: 'chat', label: 'chat' },
    ],
    HuggingFace: [
      { value: 'embedding', label: 'embedding' },
      { value: 'chat', label: 'chat' },]
    // ...
}
4. Add your LLM info into factory_llm_infos in conf/llm_factories.json
{
    "factory_llm_infos": [
        {
            "name": "MyOwnLLM",
            "logo": "",
            "tags": "LLM",
            "status": "1",
            "llm": [
                {
                    "llm_name": "myownllm",
                    "tags": "LLM,CHAT,128K",
                    "max_tokens": 128000,
                    "model_type": "chat"
                }]
        },]
    //...
}
5. Pass llm_name and api_key of your LLM to method add_llm in api/apps/llm_app.py
This is not important if api_key is not used in your own LLM.
def add_llm():
    # ....
    elif factory == "MyOwnLLM": #[MyOwnLLM]
        print("setting myownllm")
        print(req)
        llm_name = req["llm_name"]
        api_key = req["api_key"]
    # ...
6. Register your LLM in rag/llm
- rag/llm/__init__.py
ChatModel = { "MyOwnLLM": MyOwnLLM, # ... } - rag/llm/chat_model.py
If you want to add a chat model. add a new class MyOwnLLM to define your own LLM. In the following example, I defined simple echo LLM for chat and chat_streamly methods. Here I only add LLM for chat model. The same applies for other models.
class MyOwnLLM(Base): # [MyOwnLLM]
    def __init__(self, key, model_name, base_url):
        self.client = None
        self.model_name = model_name
        self.api_key = key
        self.base_url = base_url

    def chat(self, system, history, gen_conf):
        prompt = history[-1]['content']
        response = "Echo: you typed " + prompt
        token_usage = len(prompt + response)
        return response, token_usage

    def chat_streamly(self, system, history, gen_conf):
        prompt = history[-1]['content']
        response = "Echo: you typed " + prompt
        ans = ""
        for i in response:
            ans += i
            yield ans
        token_usage = len(prompt + response)
        yield token_usage
7. Start the backend
bash docker/entrypoint.sh8. Start the frontend
In another terminal, launch the frontend
cd web
npm run dev
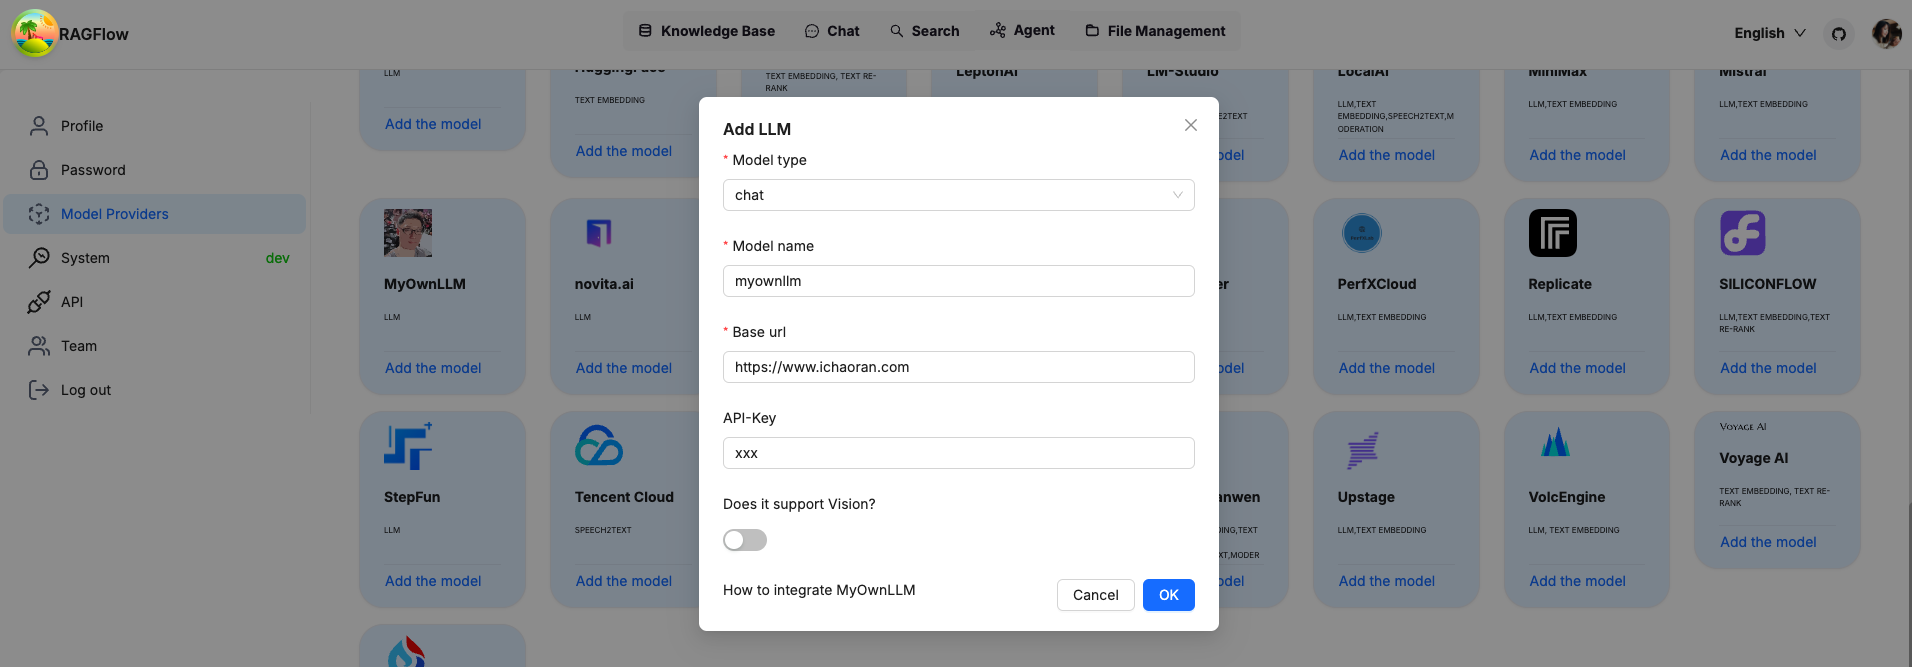
If everything is set up correctly, you should see your own LLM added to the list of LLM options Enable your own LLM by passing api_key, model_name, which can be anything if you are not using them for your own LLM.

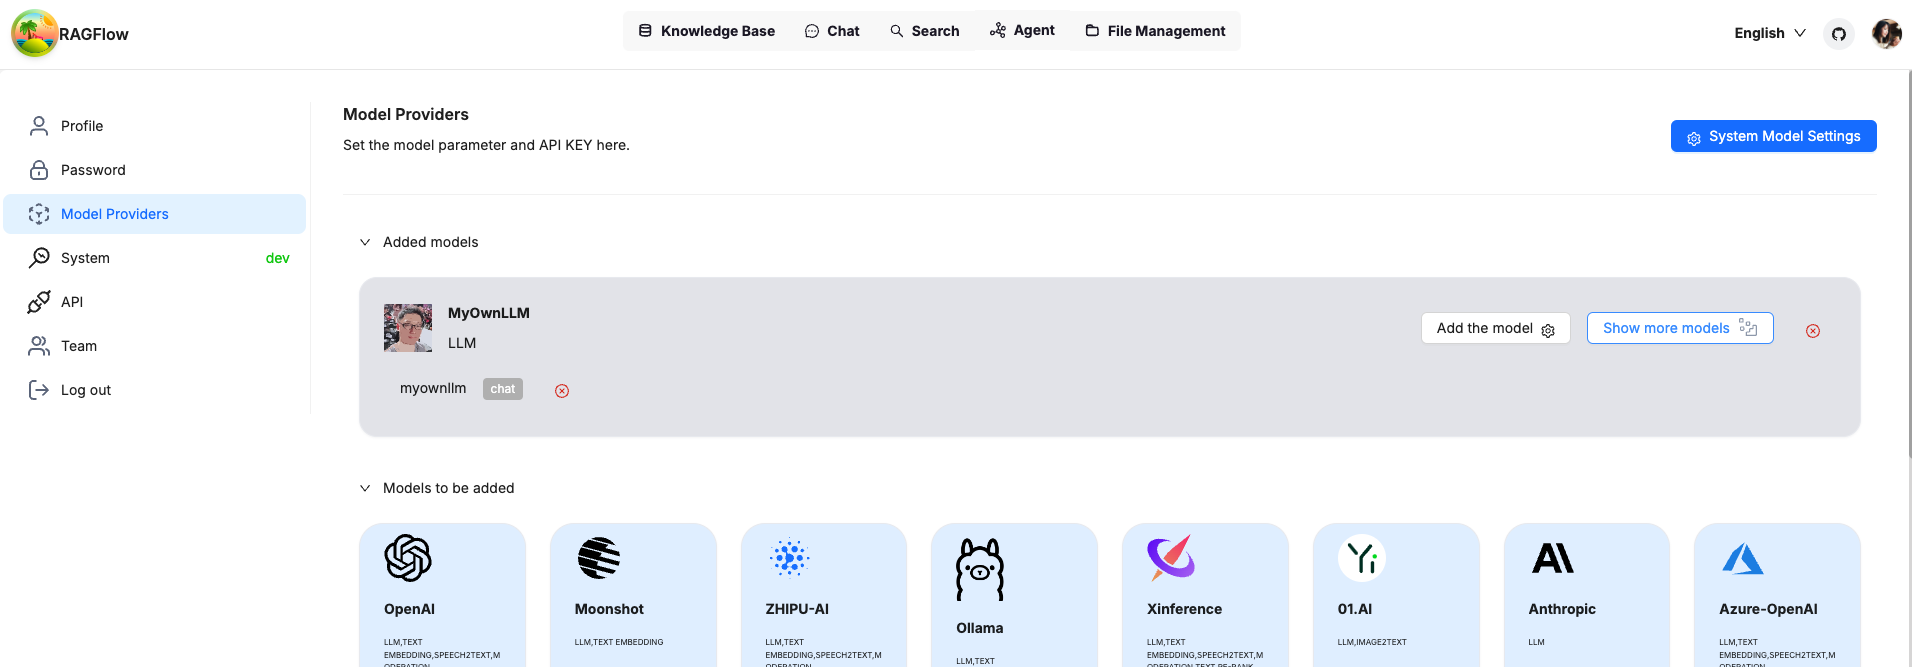
After confirmation, you will see your own LLM is added and ready for use.

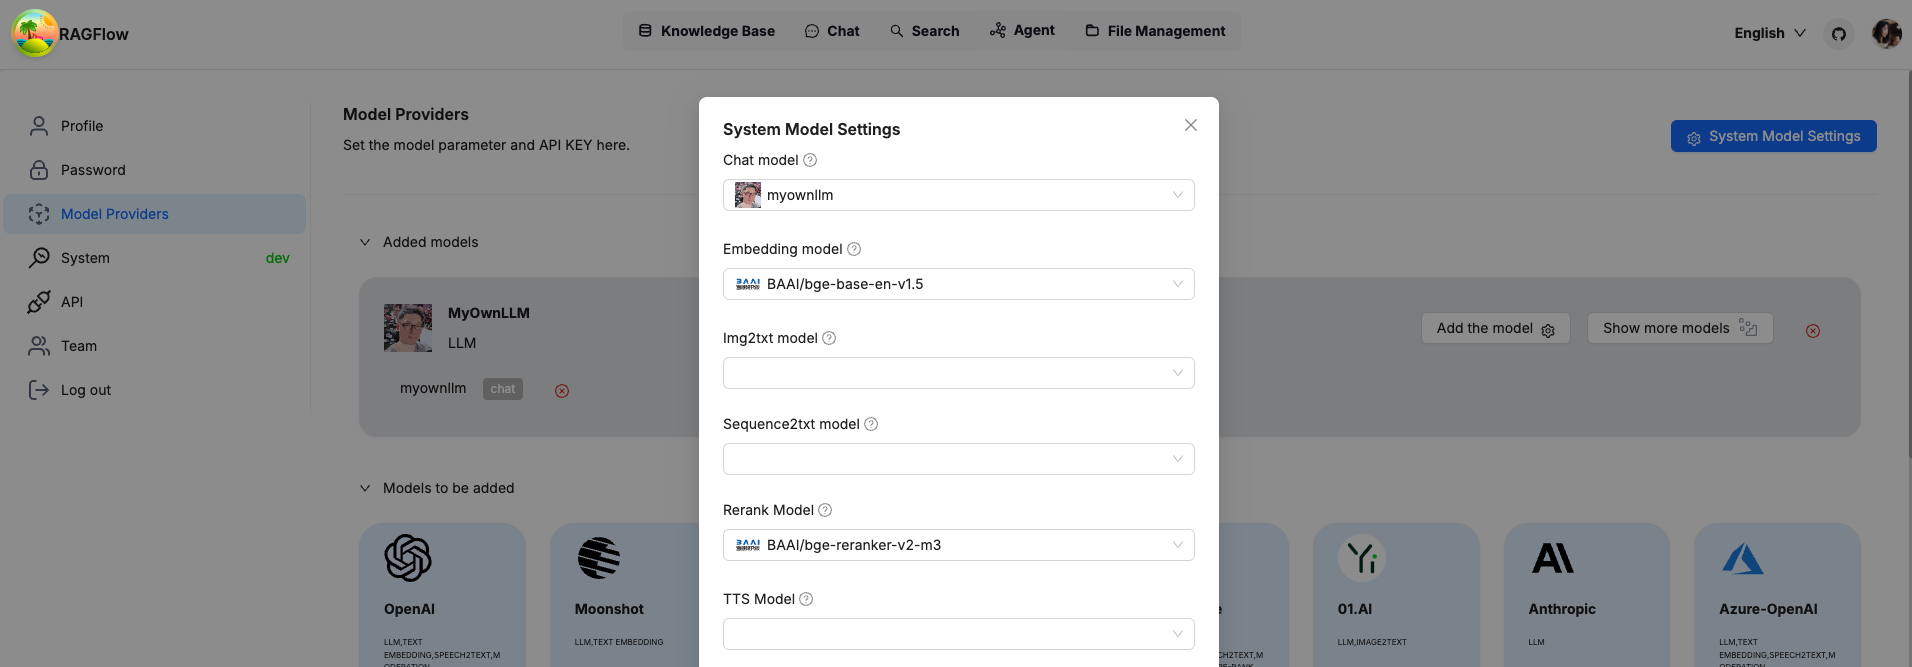
Set your own LLM as system wide LLM and you are ready to go.

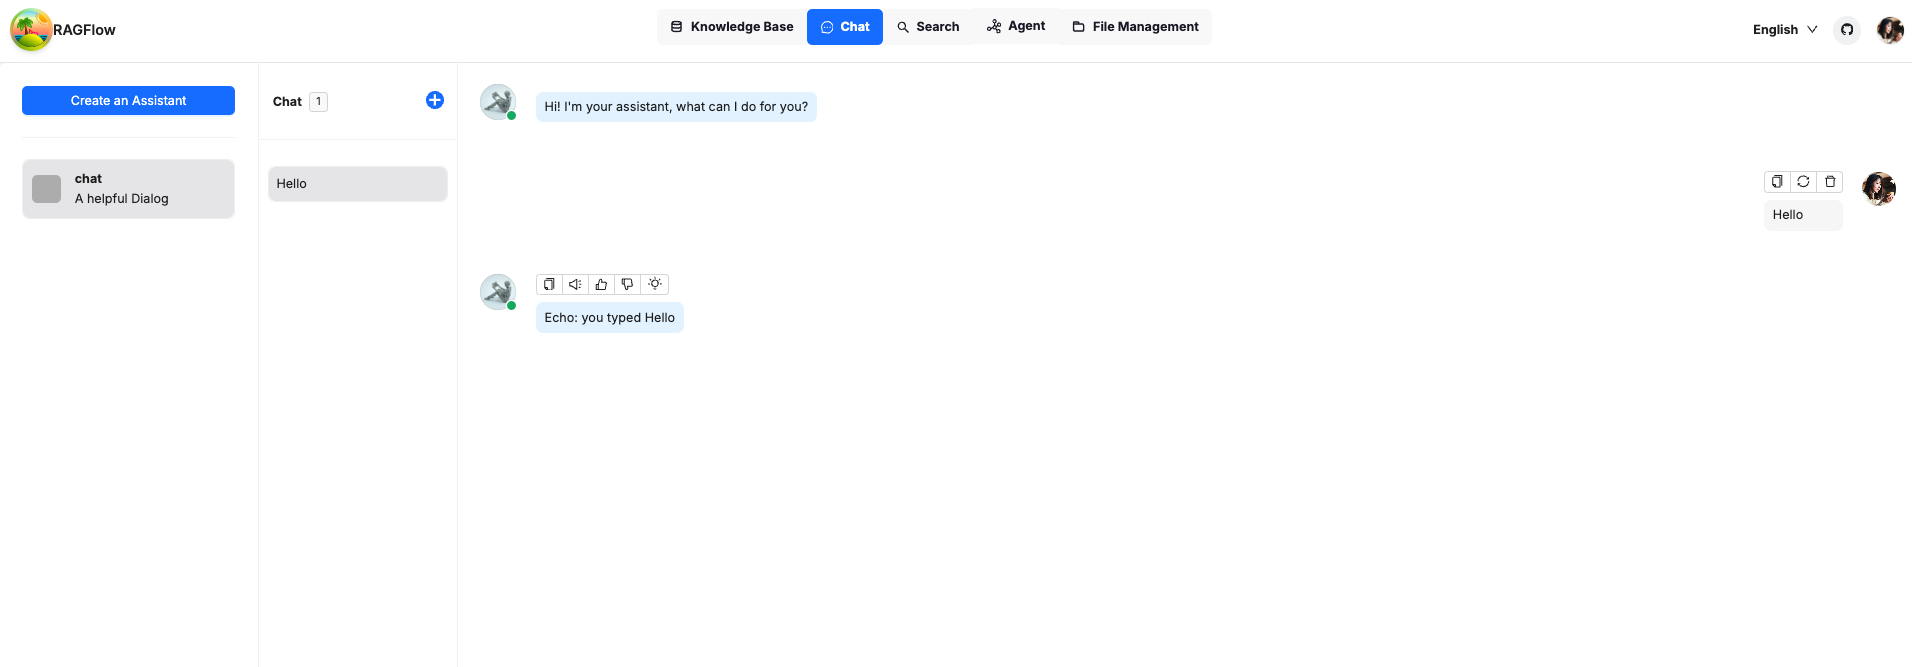
Let’s go to chat to send a simple prompt to test it out. As you can see, the bot responded the same message we sent, as expected.

Congratulations, you can play around with RAGFlow fully offline safely!
Note: This post is authorized by original author Chaoran Liu who is a data science enthusiast to republish on our site.
